

Greetings from the world of crocheting! The granny square is the ideal craft to start with if you're to take up crocheting. This timeless design can be used to create unique blankets, scarves, bags, and more. It's also quite simple to master! We'll take you step-by-step through creating your granny square in this guide. Now let's get going!
Materials You'll Need to Create a Granny Square
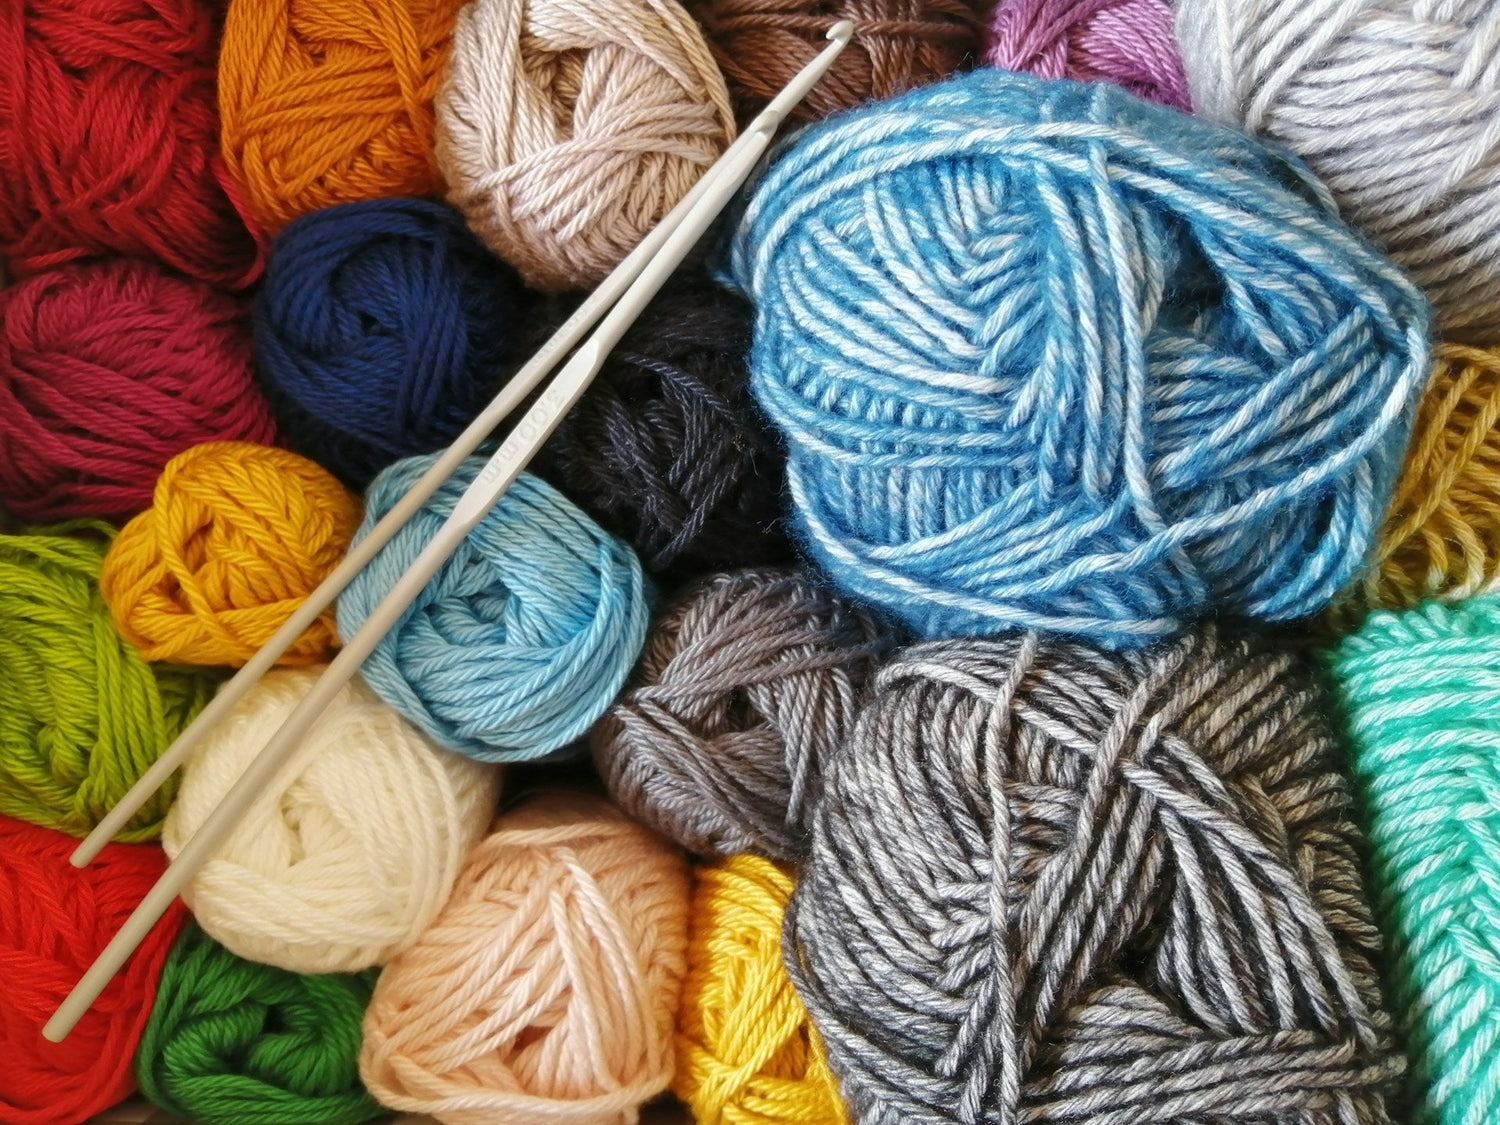
Before we dive into the pattern, gather the following materials:
- Yarn: Yarnart Jeans in your favorite color.
- Crochet Hook: A 3.5 mm crochet hook is a good starting point.
- Scissors: For cutting the yarn.
- Tapestry Needle: Use a tapestry needle to weave in the ends.
1. Start with a Slip Knot: Make a slip knot and place it on your crochet hook.
2. Chain Four: Chain four stitches. This forms the center ring of your granny square.
3. Form a Ring: Join the chain into a ring by making a slip stitch into the first chain.

- Chain three (this counts as your first double crochet).
- Double-crochet two more times into the ring.
- Chain two.

5. Repeat Clusters: Double crochet three times into the ring, then chain two. Repeat this step two more times until you have four clusters of three double crochets each, separated by chain two spaces.
6. Close the Ring: Join with a slip stitch to the top of the initial chain three.
7. Start the Second Round:
- Slip stitch into the next two stitches and the first chain two space.
- Chain three (counts as your first double crochet), double crochet two more times into the chain two space, chain two, and double crochet three more times into the same space (this forms a corner).
8. Create Additional Corners: Move to the next chain two space and double crochet three times, chain two, and double crochet three more times. Repeat for the remaining two chain two spaces.
9. Finish the Round: Join with a slip stitch to the top of the initial chain three.
10. Continue Adding Rounds: For additional rounds, repeat the pattern by slip stitching to the next chain two space and creating clusters of three double crochets separated by chain two spaces at each corner. Each round should be joined with a slip stitch to the top of your starting chain from that round.
11. Changing Colors (Optional): To add stripes or color changes, simply tie the new yarn to the end of the old yarn and weave in the ends later.
12. Weave in the Ends: After crocheting your granny square, use scissors and a tapestry needle to weave in the ends.

Once you have mastered the technique of the classic granny square, you can start coloring and detailing your crafts. Then you can experiment with different colors and styles in granny squares to create crochet tote bags, shorts, blankets, and more!