The colorful patchwork cardigan worn by Harry Styles during a rehearsal for "The Today Show" in February 2020 became an overnight sensation in the fashion world. Designed by JW Anderson, this vibrant, multi-colored knitwear piece captured the imagination of fans worldwide when photos of the singer wearing it went viral across social media platforms.
During the pandemic lockdowns, this cardigan sparked a creative movement on TikTok and Instagram, with thousands of crafters attempting to recreate their own versions of this iconic garment, resulting in the #HarryStylesCardigan challenge that united fashion enthusiasts and knitting communities globally.
What makes this patchwork cardigan so special is how it perfectly embodies Harry Styles' unique fashion sensibility that blends vintage aesthetics with contemporary gender-fluid styling. The cardigan, with its playful color-blocking in red, yellow, green, and blue, represents a shift in men's fashion toward more expressive, craft-oriented pieces that challenge traditional masculine dress codes.
As sustainable fashion and handmade crafts gained momentum during the pandemic, this cardigan became a symbol of slow fashion and creative self-expression. Its popularity demonstrates Harry's extraordinary influence on fashion trends and his ability to transform a simple knitwear item into a cultural statement piece that continues to inspire DIY projects around the world.
This project is designed for beginners, so even if you're new to knitting, you can get the same look!
Materials You’ll Need to Create a Patchwork Cardigan
Before you get started, you’ll need to gather a few supplies:
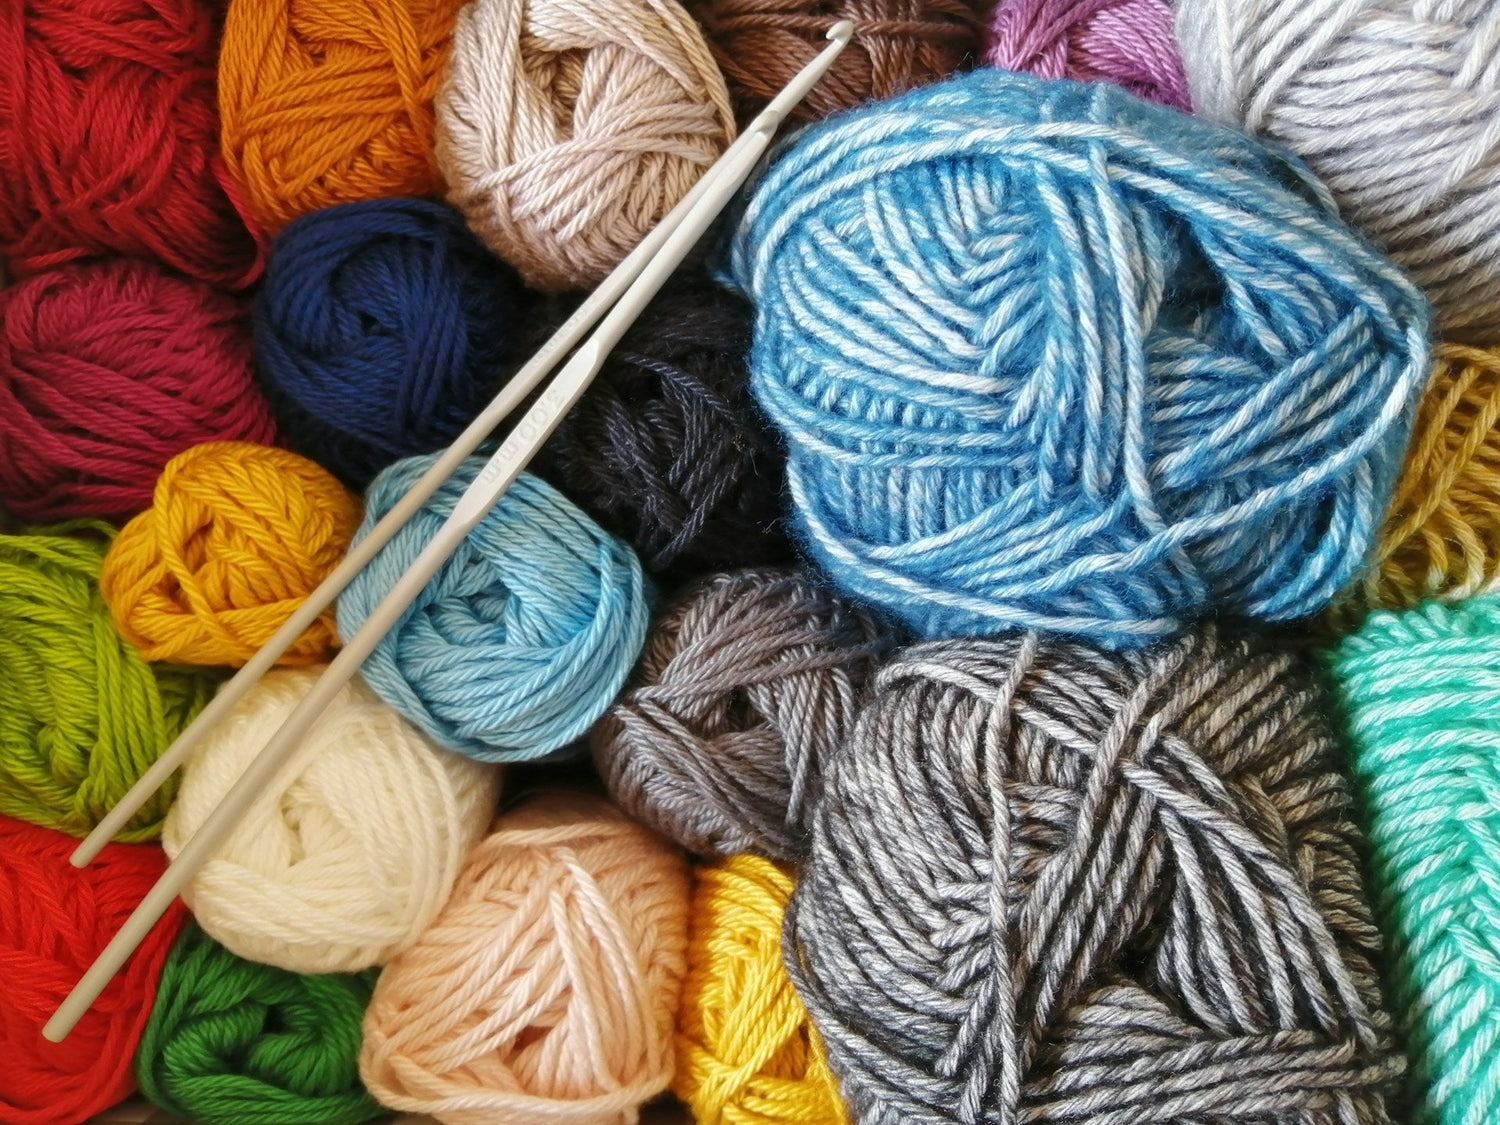
- Yarn: 7-8 colors of worsted-weight yarn in bright and bold shades like red, orange, yellow, green, blue, and purple. You’ll need approximately 100-150g of each color, depending on your size. Here’s a list of recommended colors for your project:
- Yarnart Adore Red
- Yarnart Adore Black
- Nako Pirlanta Orange
- Yarnart Adore Dark Yellow
- Yarnart Adore Benetton
- Yarnart Adore Turquoise
- Knitting Needles: 8.0mm needles.
- Tapestry Needle: For sewing the pieces together.
- Scissors
- Measuring Tape
- Black Buttons
Step-by-Step Instructions
Before diving into this exciting project, remember that knitting is all about patience and creativity. This cardigan is essentially made up of simple knitted squares sewn together, making it perfect for knitters of all levels. So grab your yarn and needles, and let’s start knitting!
Step 1: Create Your Swatches
The Harry Styles cardigan is all about patchwork, so you’ll be knitting each square individually before sewing them together. The original design is composed of various 5” x 5” squares. To achieve this size, follow this gauge:
Gauge: 18 stitches and 24 rows = 4” in stockinette stitch.
Knit Each Square:
- Cast on 22 stitches (or enough to reach 5” in width).
- Work in stockinette stitch (knit one row, purl one row) until the square measures 5” long.
- Bind off your square and repeat with all the colors you’ve chosen. You’ll need approximately 16 squares for the back, 8 squares for each front panel, and 12 squares for the sleeves.
Step 2: Knitting the Front Panels
- Choose 8 squares for each front panel.
- Lay out your squares in a 2 x 4 pattern to visualize the layout.
- Using a tapestry needle and the mattress stitch, sew the squares together to create each front panel.
- Repeat for the other front panel.
Step 3: Knitting the Back Panel
- For the back panel, select 16 squares and arrange them in a 4 x 4 layout.
- Sew the squares together using the same mattress stitch technique.
- The back panel should now measure approximately 20” in width and 20” in length (depending on your size).
Step 4: Knitting the Sleeves
- Select 6 squares for each sleeve.
- Arrange them in a 3 x 2 layout to create a long rectangle for each sleeve.
- Sew the squares together.
- Once the sleeves are complete, fold each sleeve in half lengthwise and sew the long edges together to create a tube.
Step 5: Assembling the Cardigan
- Lay the back panel flat and align the two front panels on each side.
- Sew the shoulder seams together using the mattress stitch.
- Attach the sleeves by sewing the top of each sleeve to the armholes.
- Sew the side seams and the bottom edges of the sleeves to complete the body of the cardigan.
Step 6: Adding Ribbing and Finishing Touches
- Using the 5.0mm needles, pick up stitches along the front edges, neckline, and hem of the cardigan.
- Knit in a 1x1 ribbing (knit 1, purl 1) for about 2 inches to create the border.
- Bind off all the stitches loosely to allow the cardigan to stretch.
- Weave in any remaining loose ends with the tapestry needle.

Tips for Beginners
- Start with basic knitting skills: If you’re new to knitting, practice creating squares with different colors first. This project is perfect for learning how to change yarn colors and sew knitted pieces together.
- Measure as you go: The fit of the cardigan can be adjusted by creating smaller or larger squares. Keep your measurements in mind as you knit each square.
- Be creative with colors: The original cardigan was colorful and bold, but you can choose a color palette that matches your style.


